Tip: Hit the F11 key on your keyboard to open up your browser fullscreen, so you can see everything!
This is a quick tutorial for the GIMP written especially for Mr-Quebec, seeing I'm using his picture as an example!
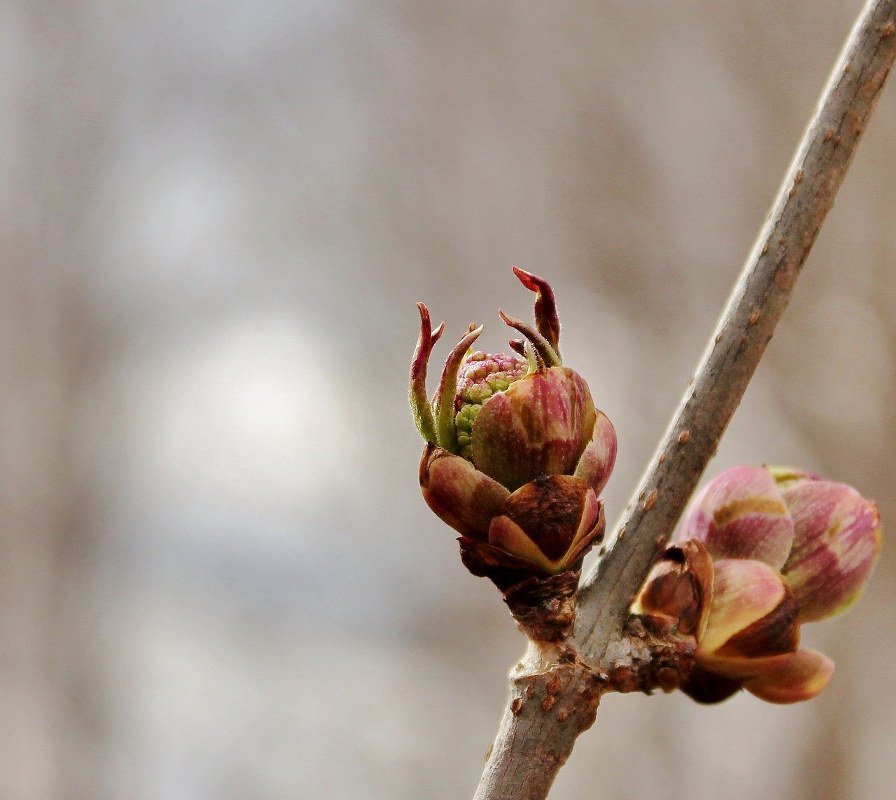
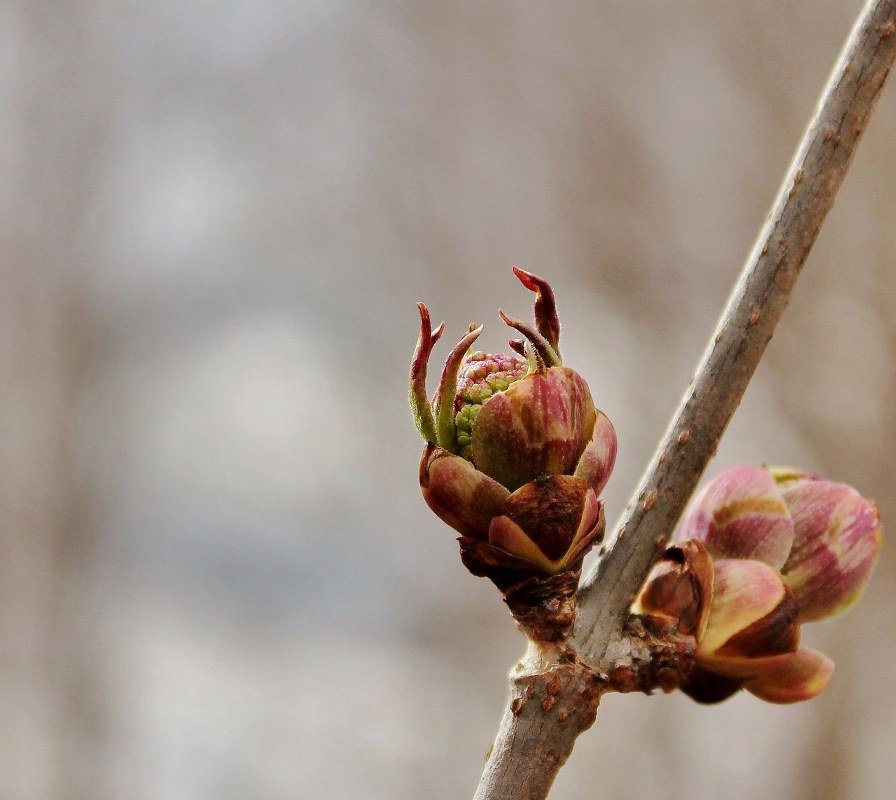
For this tutorial, I'm going to darken a specific area of this photo.

First we open GIMP... (Make sure you have the latest version of GIMP installed)
Now open the image that you want to edit in GIMP by drag-and-dropping it over the GIMP window. (If the GIMP window disappears when you start dragging, just keep a hold of your file and hover over the GIMP icon in your taskbar for a few seconds and it will come back.)

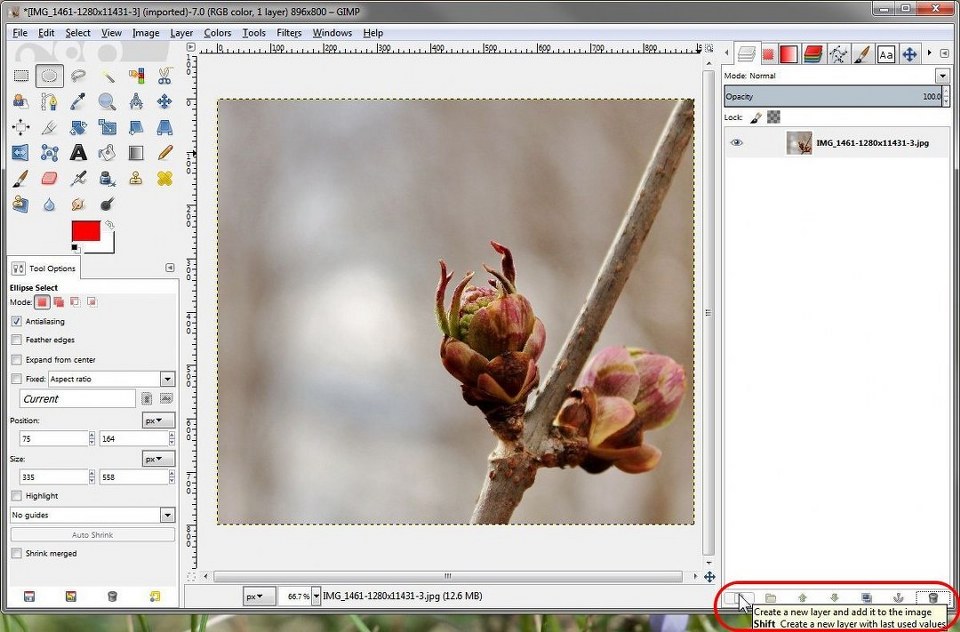
Now, as you can see, we have the picture opened as a layer in GIMP. When editing the image, we should always use a separate layer so that the original image remains untouched. That way, you can always undo something if you don't like it. In this example, we want to darken the bright spot to the left of the bud that's highlighted in red.

To do this, we first need to create a 'New Layer'
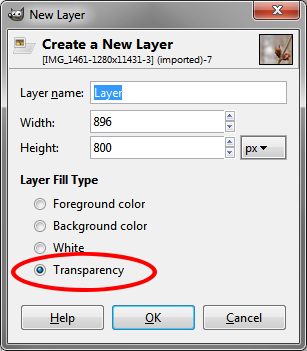
Make sure that 'Transparency' is selected, then hit 'OK'
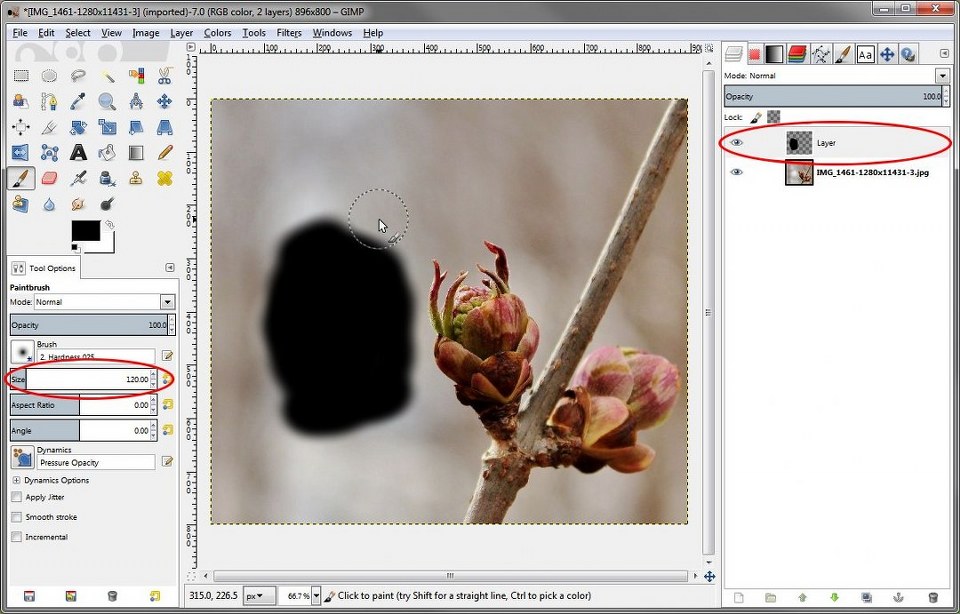
Now select the 'Paintbrush' tool.

Set the size in tool options and paint with black over the areas that you want darkened. Make sure that you have the new transparent layer selected, not the original image.
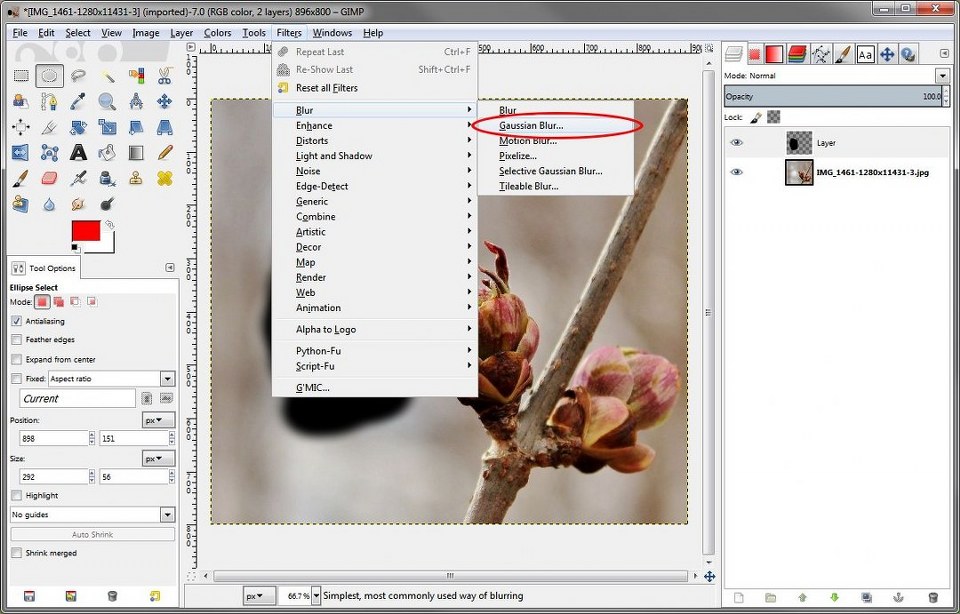
Now, that spot of black needs to be softened, otherwise it will create edges of dark and light contrast. We want a smooth transition so that you can't even tell that it was darkened. So, we need to blur the black spot, so that there aren't any "hard" edges. We'll do that with the 'Gaussian Blur' Filter.
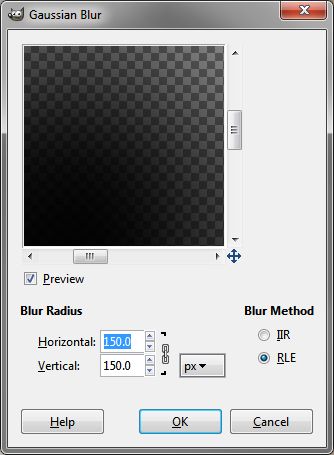
Try a radius of around 150px for starters, and apply it. Again, making sure the your transparent layer is selected, not the orginal.
Now we've got a nice gradient which shouldn't create any hard edges.
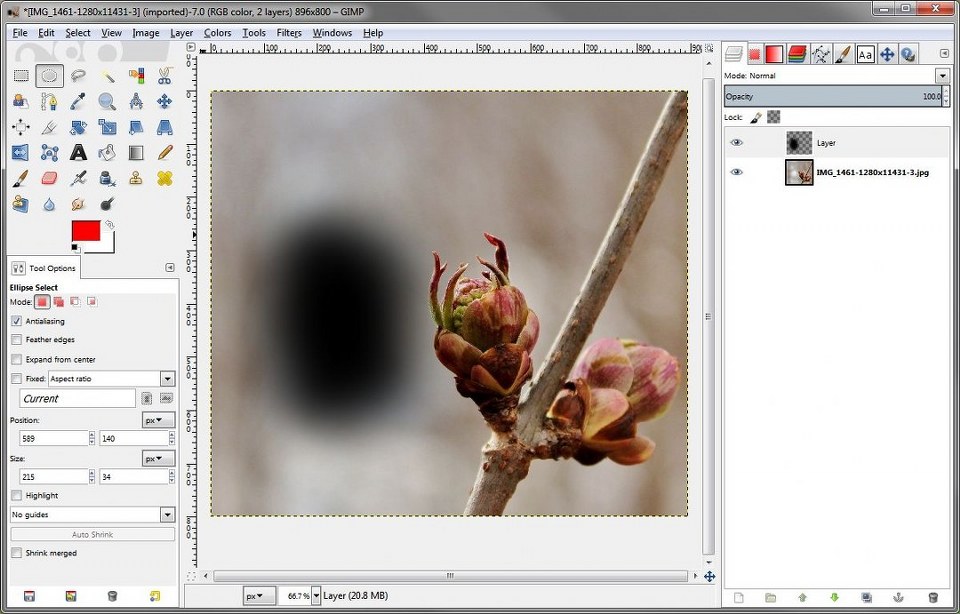
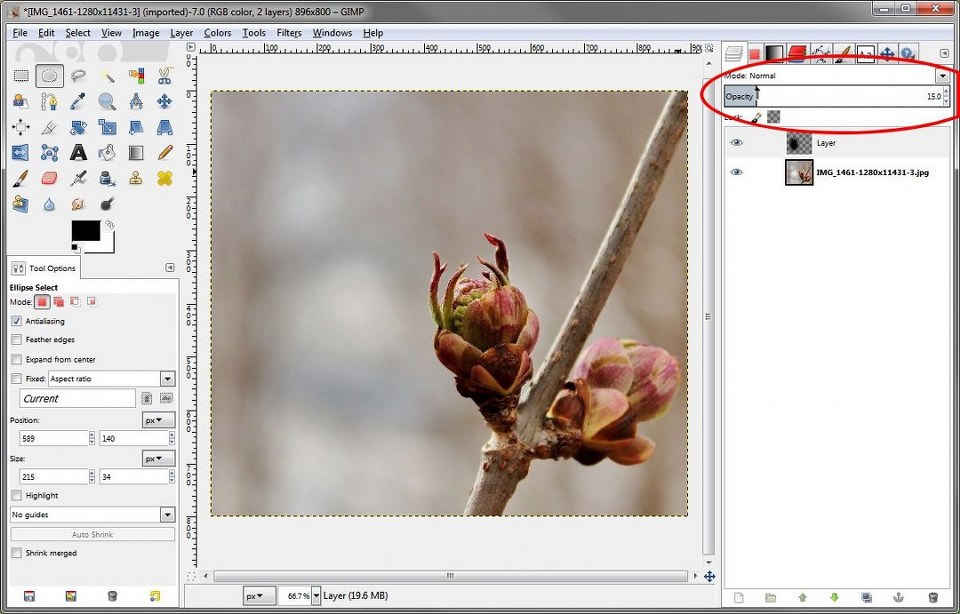
Now, obviously that's way too dark. We need to reduce the opacity of the layer till it's just dark enough. I have it at 15, but you may have to adjust it to your liking.
Lastly, here's a before/after comparison of the image just edited. (Click and drag the litle green handle to the left to see the difference.)
James Staddon asked "After you blurred the "dark spot" layer and changed it's opacity, can you re-edit the layer to make the dark spot smaller or larger?"
I can think of more than one way to make the dark spot smaller or larger. I think the easiest way would be to simply resize/rescale the layer to cover the area desired. Select the 'Scale Tool' by clicking on the highlighted icon, or with the keyboard shortcut
"Shift + T"

Now click on the layer and it will open a dialog which will allow you to scale the layer.
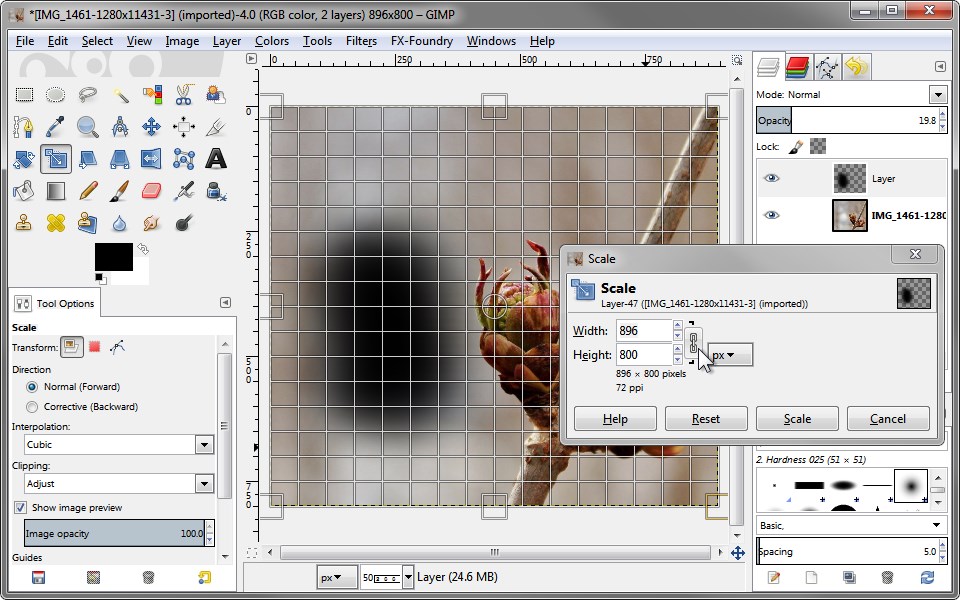
If you click in the little chain icon, it will unlock, and you can resize the layer however you want, in whichever direction you want.
Well, there you go! It's not as hard as it looks, you just have to know which tools to use, and how to use them.