Tip: Hit the F11 key on your keyboard to open up your browser fullscreen, so you can see everything!
This tutorial is intended to teach new GIMP users how to sharpen photos. We will be using the "Unsharp Mask".
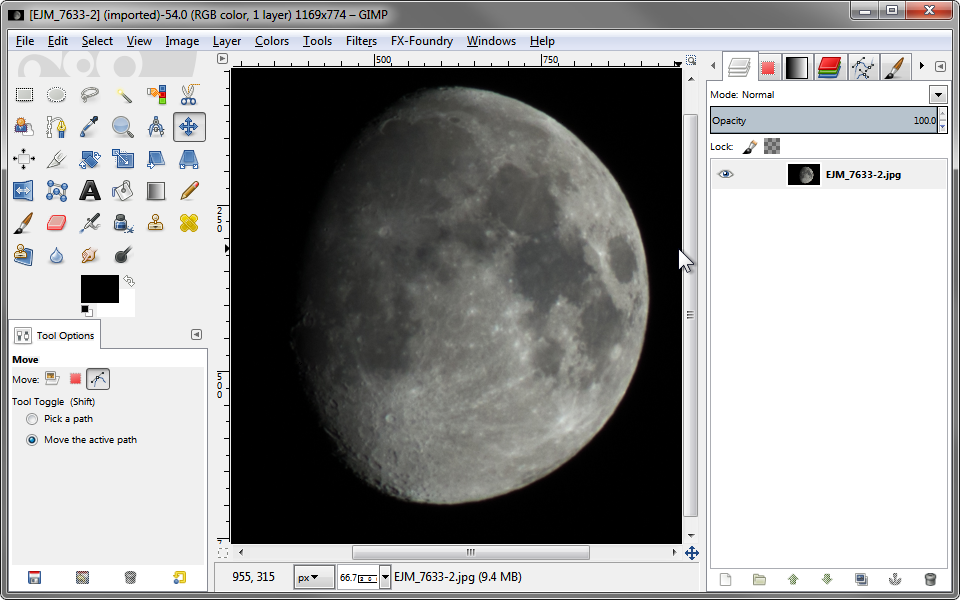
First, as always, open the latest version of GIMP.
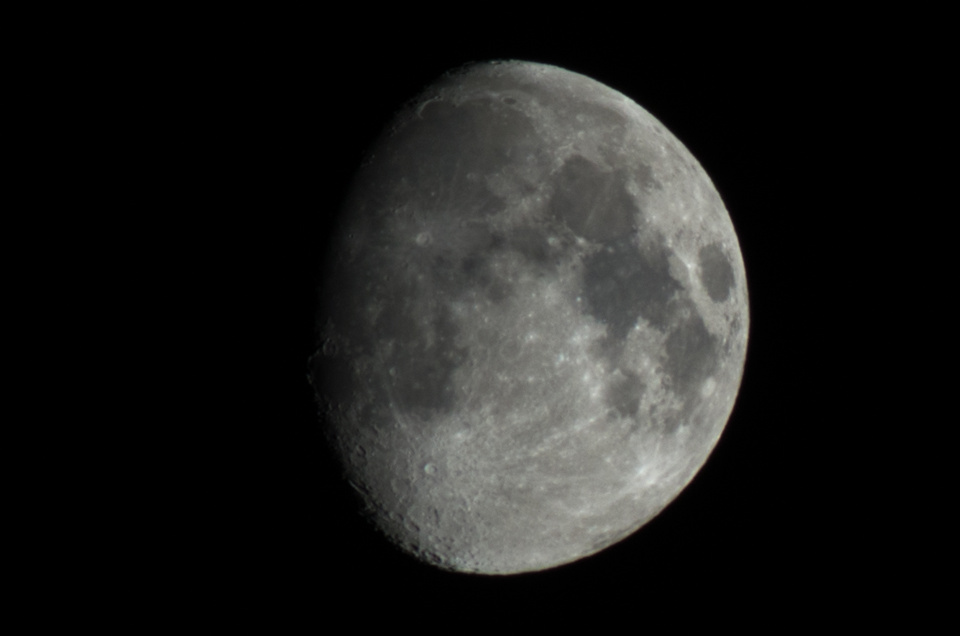
We'll be using one of my own images, a shot of the moon that I took about 3 weeks ago. I exported it from Lightroom without any sharpening at all, so this is worse-looking than even a SOOC (Straight Out Of Camera) .jpeg file.
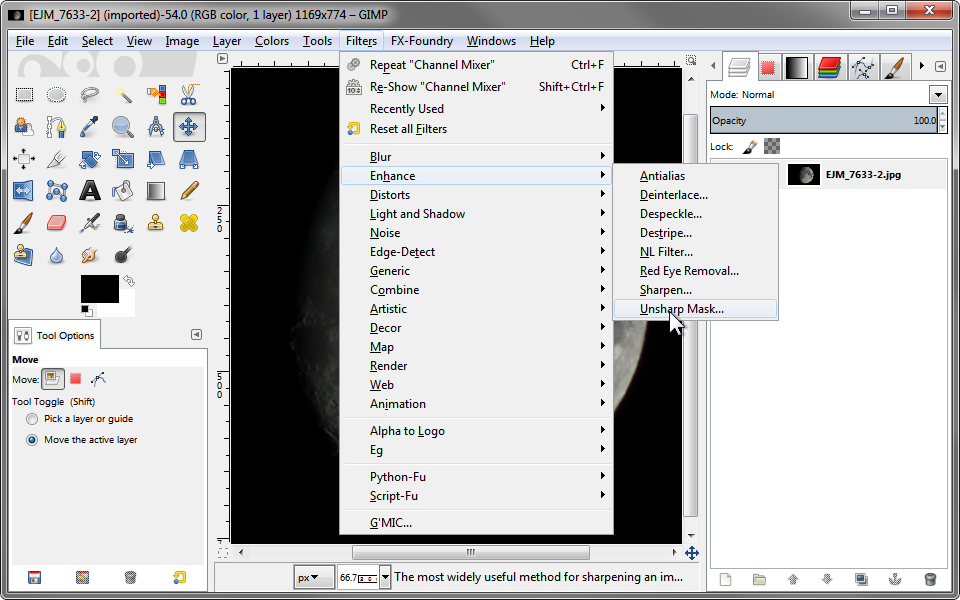
Now let's go to Filters > Enhance > Unsharp Mask, and open up the options dialog.
Now, as you can see, the default values don't look too good. GIMP can't possibly know the individual settings needed for particular photos.
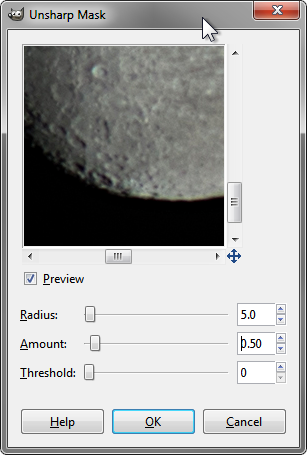
Let's try some different settings...

Using the settings above, we got the following results. You can compare the before/after results below.
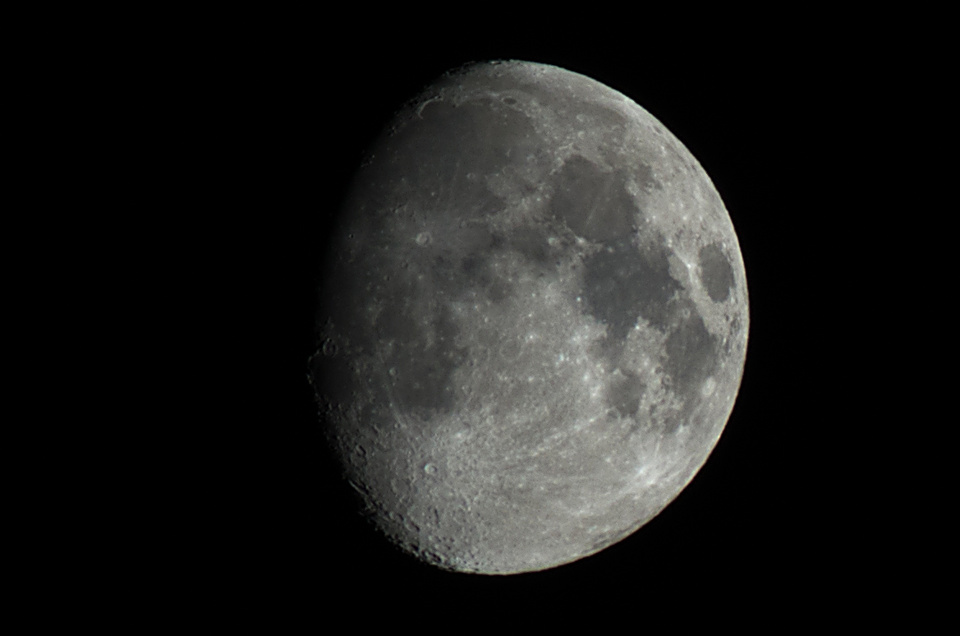
Well, that looks pretty good! But I think we can do even better!

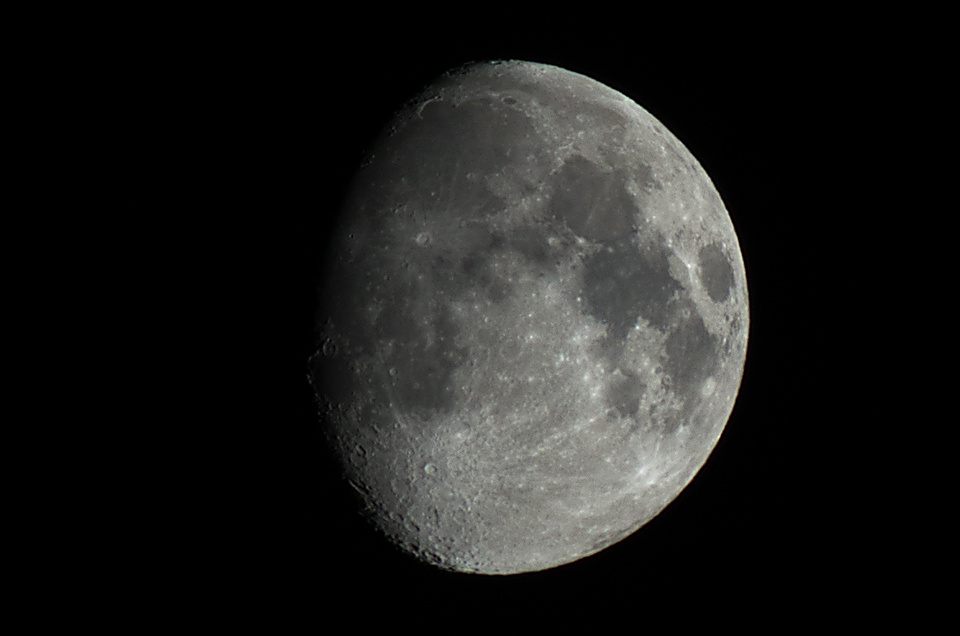
Let's try these settings... Here's another before/after of the last 2 tries. You'll have to look really carefully to see the difference, but it's there.
Notice that the radius is set to 0.4, which seems quite small. Of course it depends on the picture, but usually the default of 5 is way too big. Notice also that the "Threshold" slider is set to 5. The threshold is basically the same idea as the 'Masking' slider in Lightroom, it controls which areas of the picture are sharpened. If it is set to 0, then it attempts to sharpen every single bit of the picture. However, most pictures don't need every single bit sharpened; think of the sky, or any large areas that are the same color. Sharpening them will only increase noise, it will not have any visual sharpening effect. In the case of this picture, the sky definitely doesn't need any sharpening, so I adjusted the Threshold a little. Unfortunately, GIMP doesn't give you a nice visual representation of the Threshold, so you'll just have to guess on the values. If you put the values too high, then nothing will be sharpened, so you've got to experiment a little to find the 'sweet spot'.
Here's a comparison of Threshold 0 vs. Threshold 5.
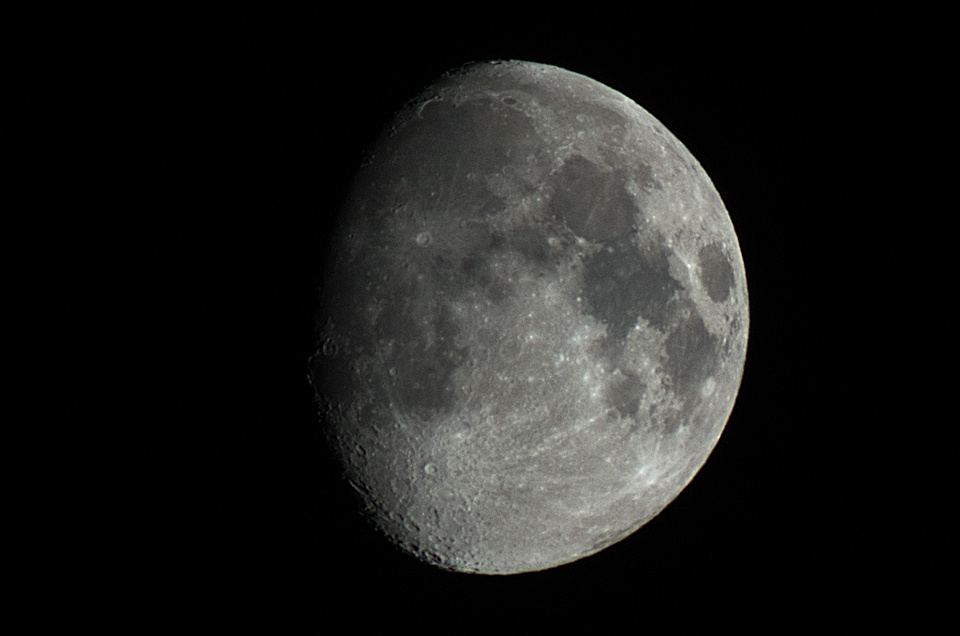
If you look at the upper half of the moon especially, you can see in the large gray patch that there's a lot more noise/grain introduced. But if you look at the areas with lots of contrast and detail, they look the same. Only the smooth patches are affected by the Threshold slider. (Unless, of course, you move it too far to the right, then it won't sharpen anything!
I think I found the settings that work the best for this image to be as follows:
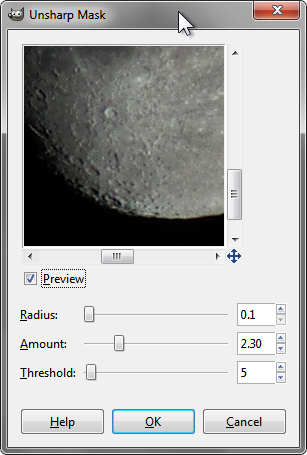
And here is the final image, sharpened with the settings shown above, then sharpened again, with the amount lowered to .50, the other values remained the same.

Now that image was a good candidate for a sharpening tutorial, it was severely cropped from the original, so you're seeing it at nearly 1:1 size. Most pictures though won't be so obvious, so let's try another one.
Here is another image with absolutely no sharpening applied.

That looks pretty good even without any sharpening! The reason is that the image has been resized to only 20.11% of it's original size. If you look at a 100% crop of the image, you can see that it's not particularly sharp at all.
This brings me to another important consideration. I've heard it said that you should always sharpen your image at it's final resolution. If you're going to beautifully sharpen your original image at it's original resolution, only to resize it to 800x600 and post it on Facebook or whatever, then all that sharpening was wasted. As you can see up above, it looks sharp enough even without any sharpening at all! Here's a comparison of unsharpened vs. sharpened in Lightroom, at 960x636 pixels...

Can't even tell the difference, can you? I can't! Now take a look at the same two pictures at full resolution.

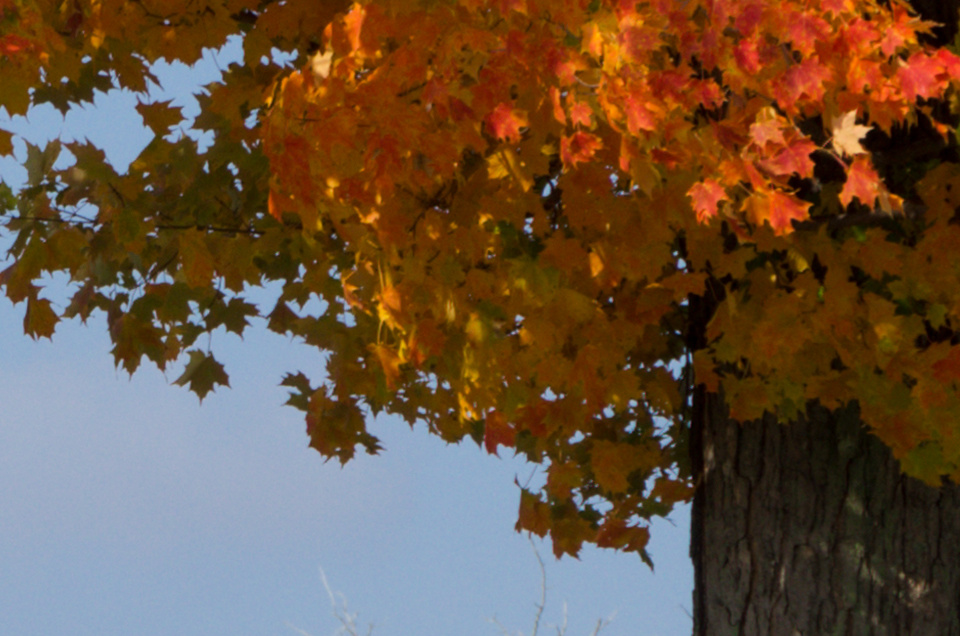
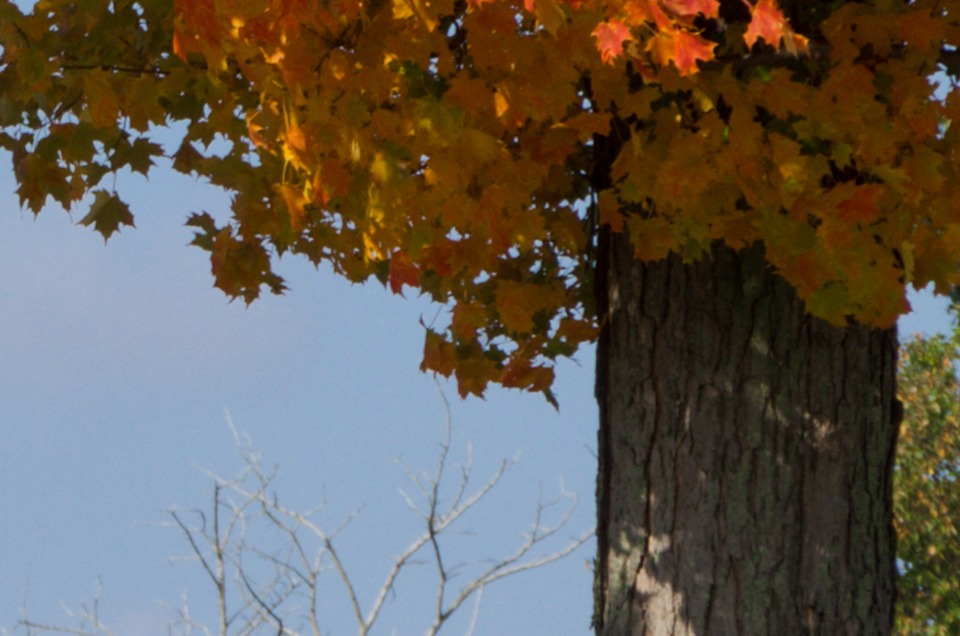
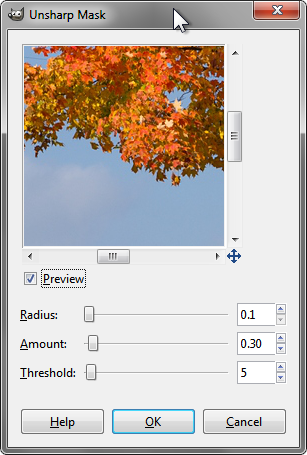
Quite a big difference, isn't there? Now the previous image of the moon was basically a 100% crop, so we sharpened it till it looked good. Now we need to sharpen this image at the size at which it will be viewed, which is 960x636 pixels. I applied the following settings:
And I get the following image, compared to the original, resized, unsharpened version.
The difference is nearly imperceptible, but the second one is definitely sharper. Notice the values of the sliders compared to the values I used for the moon shot. The amount was decreased from 2 all the way to 0.30! For an already resized picture, you've really got to be careful not to oversharpen, it doesn't take much at all. Now I'm going to apply the exact same settings to a 100% crop and compare them.

Those values don't even change the apparent sharpness at all! So it's obvious that how much sharpening you apply has a lot to do with the resolution of the image. Let's try to apply some sharpening that actually shows.

Before and After...

That's a bit more like it! It seems that the more resolution you have, the more 'Radius' and 'Amount' you will need, and vice versa. I would actually consider this to be too much sharpening, but that would only be if you are 'pixel peeping'. You have to keep in mind that 99% of people who view this image won't see it at full resolution, more than likely no more than 1200 pixels across. And at that resolution, it will only look "pleasantly sharp" instead of oversharpened. You can test this by clicking here which will open the full resolution file in a new tab in your web browser. It should scale the image to fit your screen, and you can see that it looks "tack sharp".
I hope you've enjoyed this tutorial, because I certainly enjoyed making it, and I even learned in the process! I've never done much with sharpening in GIMP, as I use Lightroom for most of my photo editing needs. But it's always good to know how do something in a different program, using different methods.