Tip: Hit the F11 key on your keyboard to open up your browser fullscreen, so you can see everything!
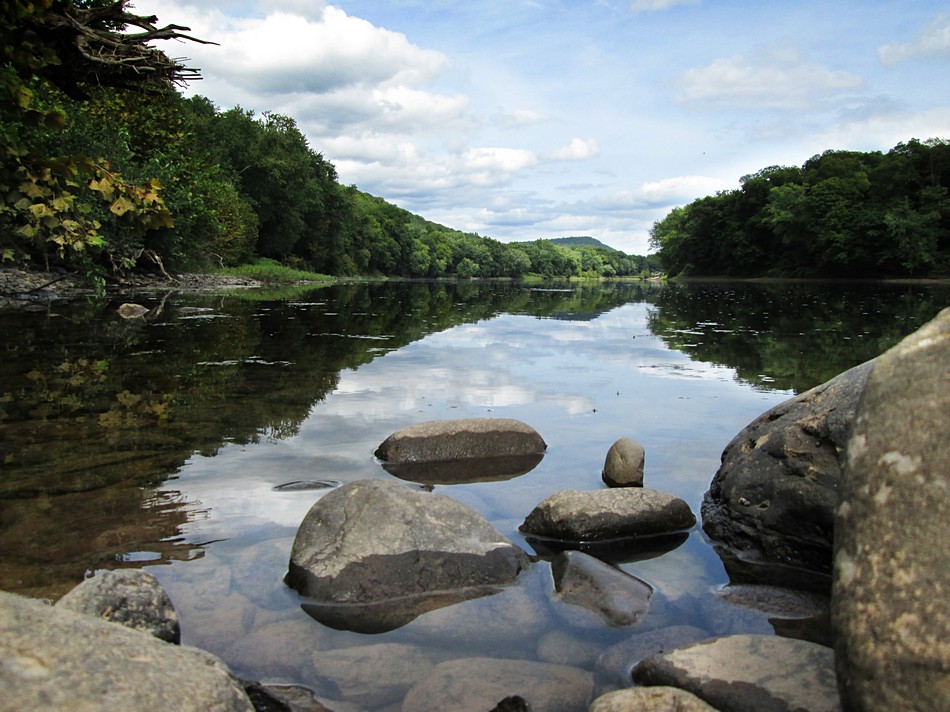
This tutorial is specifically for Lenspiration user snmiller, seeing as I'm using snmiller's photo!
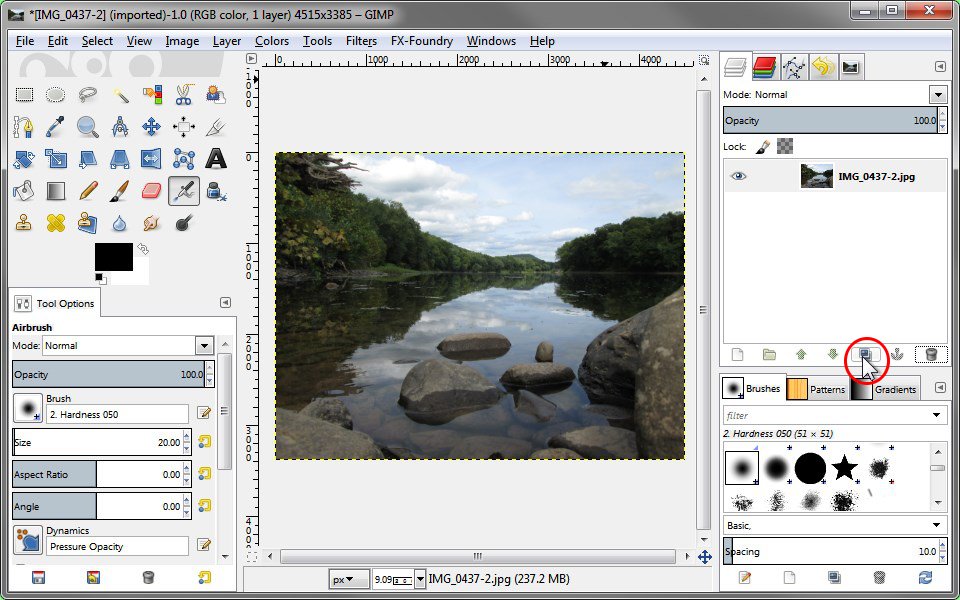
First, as always, open the latest version of GIMP.
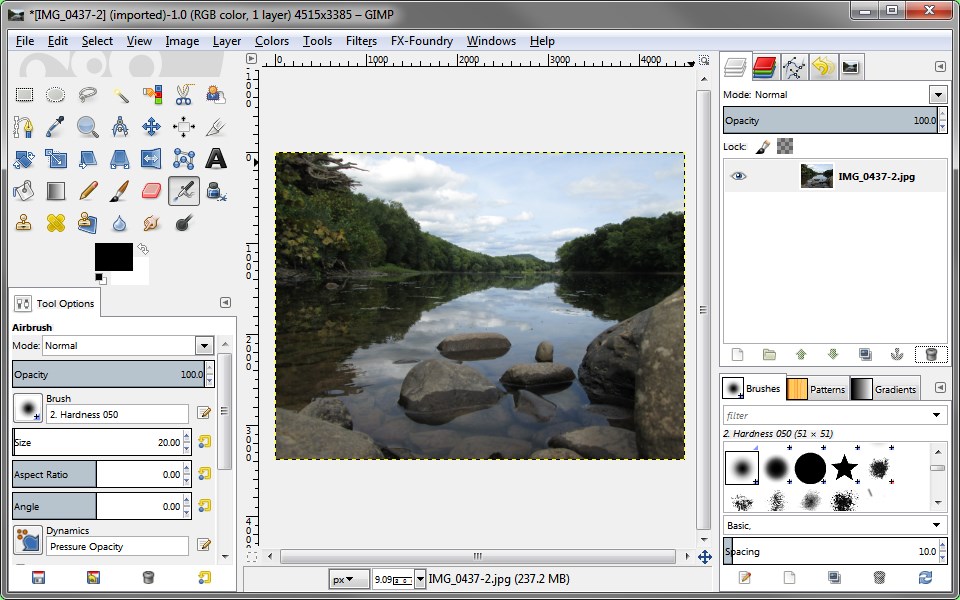
Drag your photo into the GIMP window, and it will open it up for you to edit. (I'm having to use a tiny window so that it will fit in this tutorial, you can maximize the window and make the most of your screen.
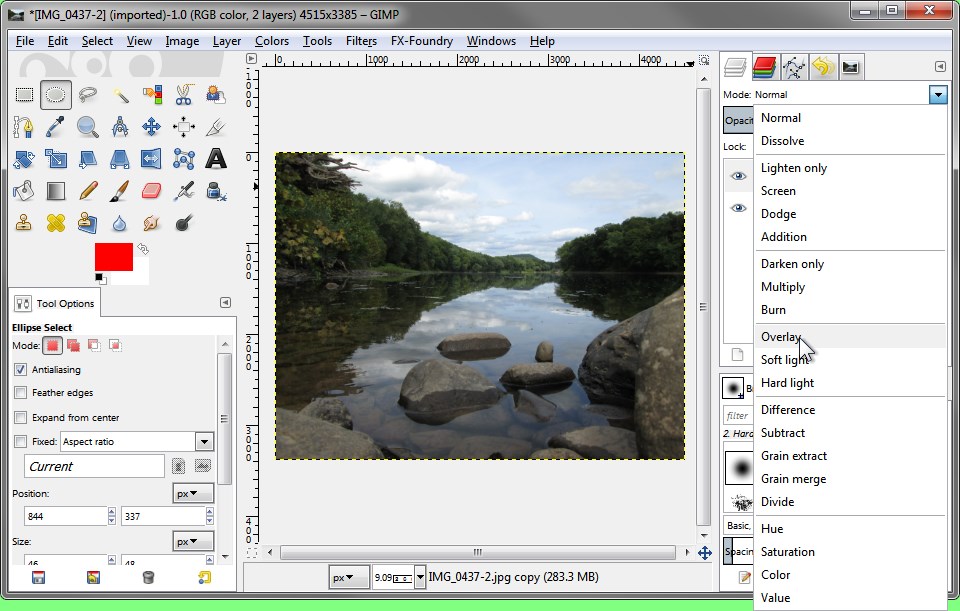
First, Duplicate the layer...
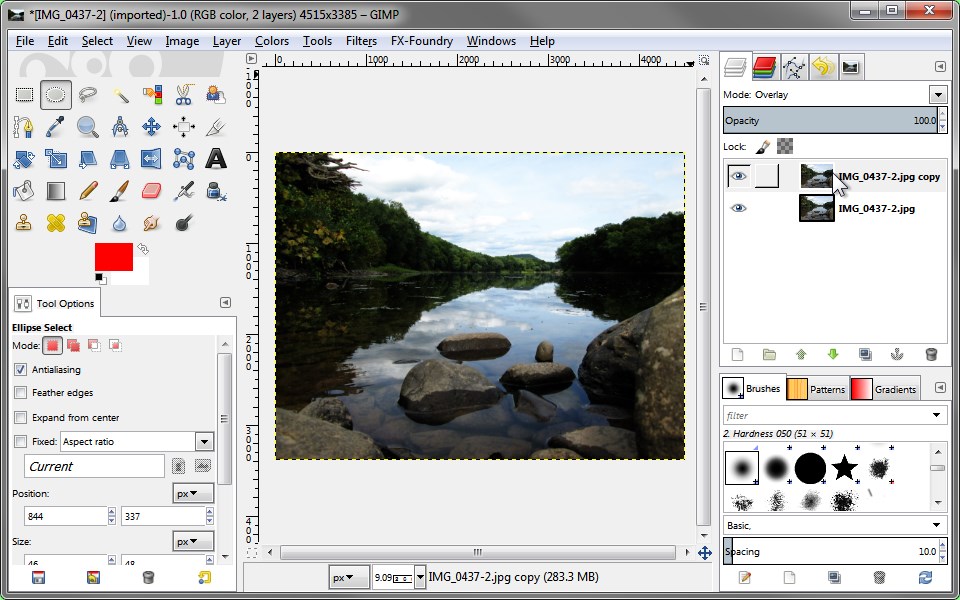
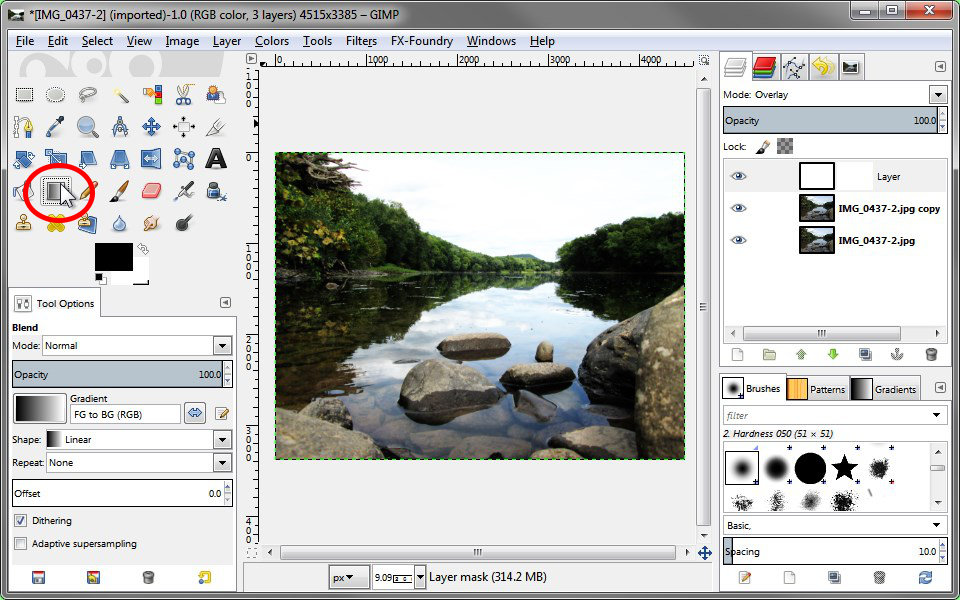
Now set the Layer Mode of the top layer to 'Overlay'
As you can see, that greatly increases the saturation and contrast of the picture. In fact, it's way too much, but we'll fix that later.
Now add a 'New Layer' (Ctrl + Shift + N) and select 'White'
Set the 'white' layer Mode to Overlay also.
This brightens the image a lot, so much that the sky is completely washed out! Otherwise, the rest of the picture doesn't look too bad! So we need to darken the sky back down while brightening up the rest of the image.
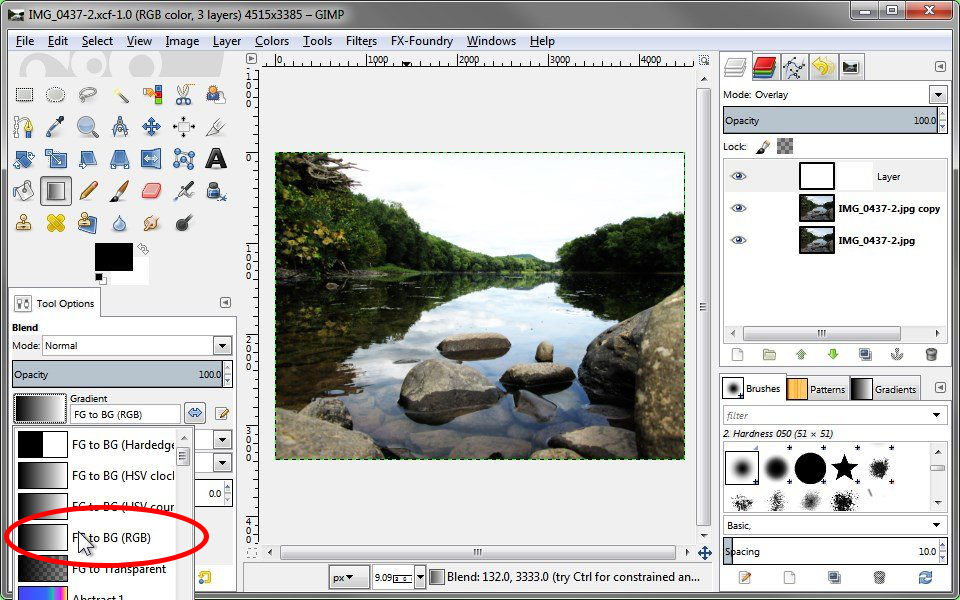
Select the 'Gradient' tool.
We need to make a black-to-white gradient, starting with black at the top, and fading to white at the bottom. Select 'FG to BG (RGB)' from the list of gradients.
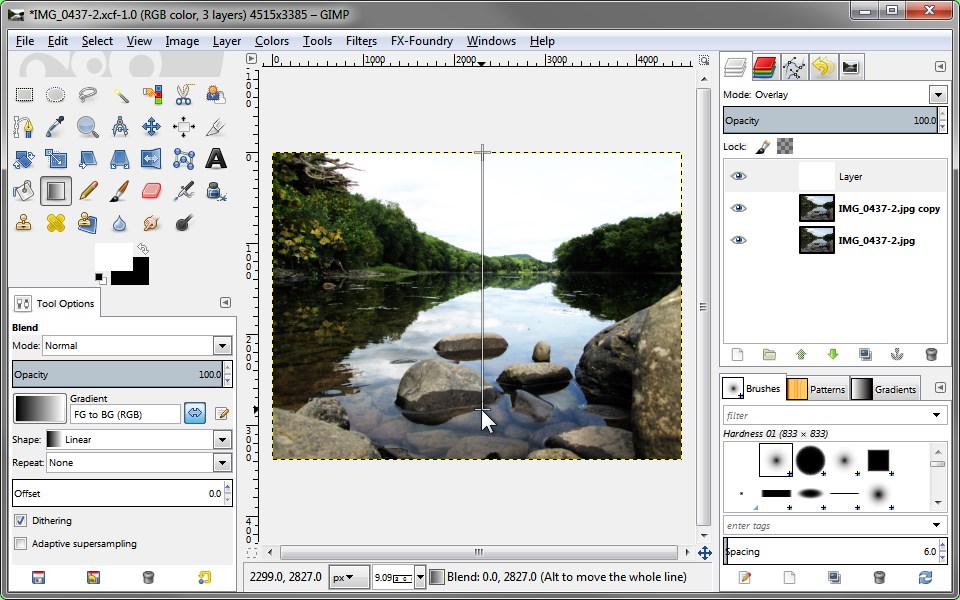
Now starting at the top, click on the very top edge of the picture, and draw a line down ending about 3/4 of the way to the bottom of the picture. (To draw a perfectly straight line, hold the 'Ctrl' key while drawing the line.)
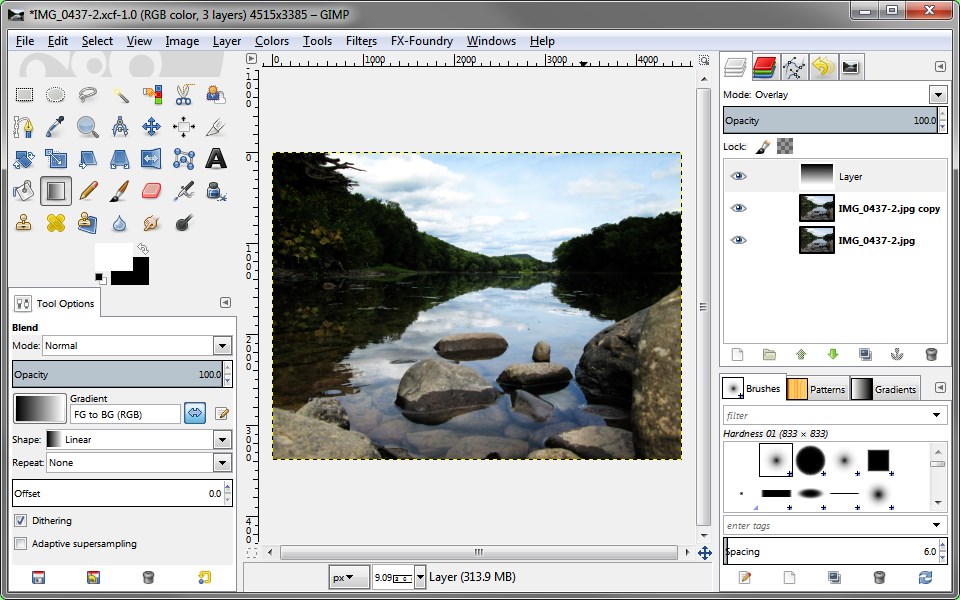
That basically darkened the sky and lightened the foreground. The sky looks OK, and the foreground looks OK, but the trees are still too dark.
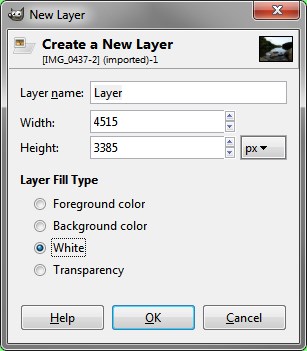
So we need to create a new layer, (Ctrl + Shift + N) select 'Transparency' as the "Layer Fill Type" and hit "OK"
Select the 'Paintbrush' tool (Hit the 'P' key on your keyboard) and select a round soft brush. There should be one called 'Hardness 025' Start painting with white over the dark shadows on the trees.
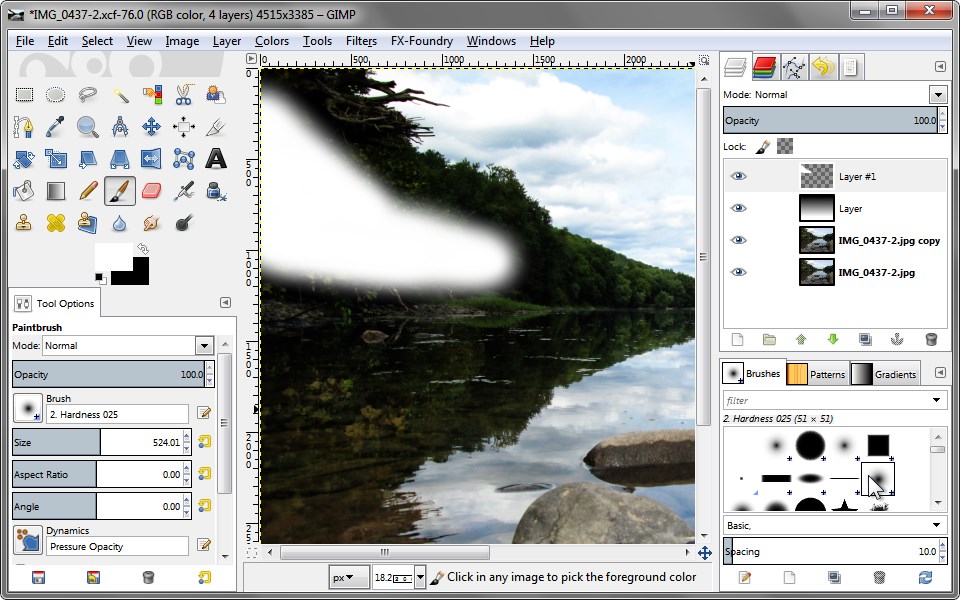
When you've painted everything white that needs to be brightened, change the 'Mode' of the layer to 'Overlay'.
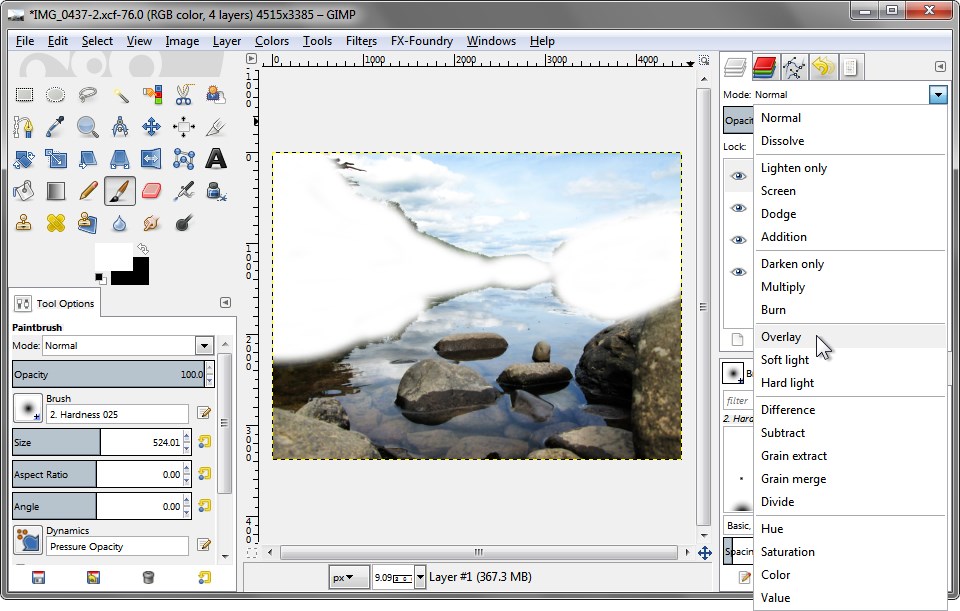
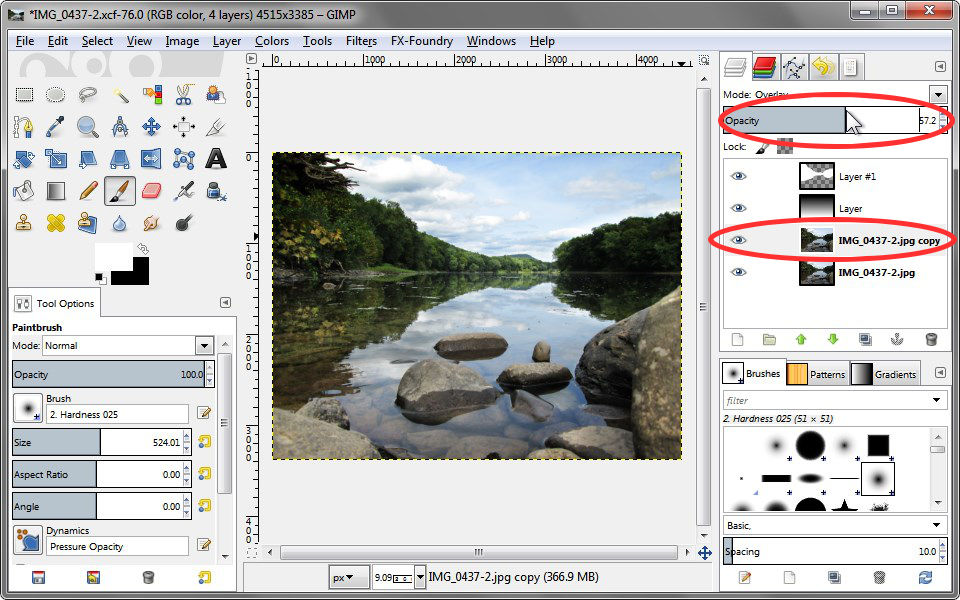
If you found a spot you missed, just paint it in until it looks right. If you painted in the wrong spot, don't panice! Just select the 'Eraser' tool (Shift + E) and erase the unwanted paint. If the shadows still aren't brightened enough for your taste, you can duplicate your white "painted" layer, then adjust the opacity on it till you're happy with it.
If the whole thing seems too "contrasty", then try lowering the opacity of the duplicate photo layer. You can adjust the opacity of any of the layers to make slight adjustments to the while image, just play around with it till you find something that looks realistic and good-looking!
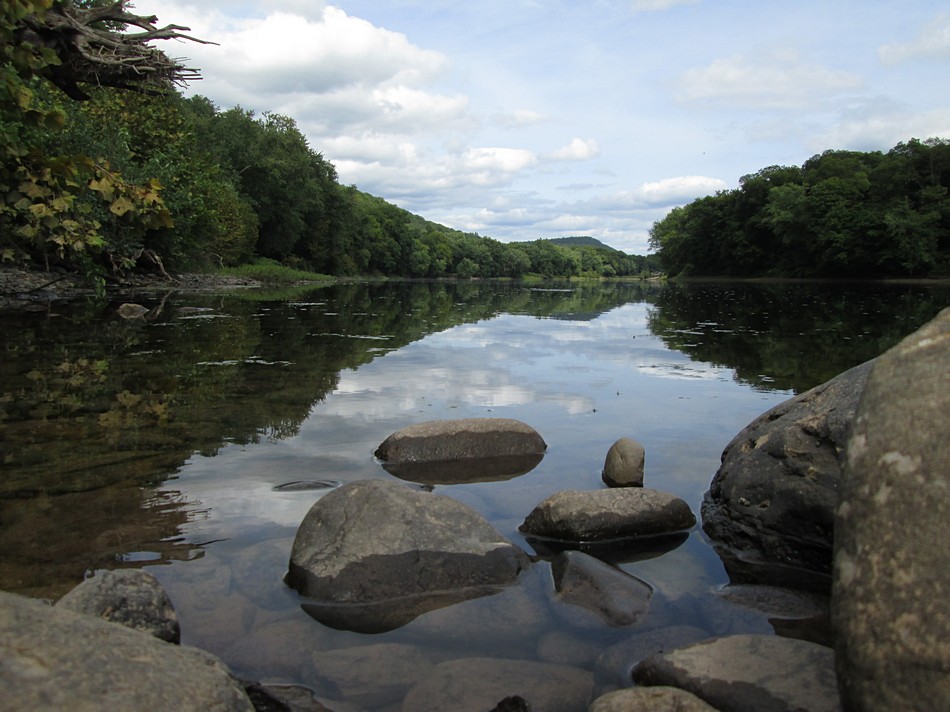
Here's a before and after comparison...